


 Animation Home

 Online Home

 Apps Home

 E-learning Home


Augmented Reality - 3D Workflow
Recently at RJDM we’ve been working on a number of augmented reality apps, several of which we showed examples of at Marketing Week Live. Augmented reality (AR) involves superimposing a computer generated (CG) image over a view of the real world to create a composite image where - thanks to real-time 3D tracking data, the CG object appears to interact with the environment.
In our case we’re using the camera on tablets and smart phones for the real-world image and tracking data and outputting the composite to the screen, but the principle is exactly the same for upcoming wearable devices such as Google Glass.
In terms of workflow the 3D production pipeline is slightly different from producing video content, but it doesn’t take too long to get up to speed with the differences. We’re currently using Metaio for the tracking, image recognition and as the 3D renderer for all of our AR content, which thankfully has a fairly large amount of information and guides to help get you started producing content as quickly as possible (it’s also possible to use Metaio just for the tracking and image recognition and to use another 3D renderer such as Unity for output).
The major difference for us with AR content is that it’s far closer to a games production pipeline than a film one, which comes with differences in pipeline flow as well as the models and animations needing to work in 360° so the user can move around the object freely. For example our usual 3D production pipeline is: Modelling->Texturing & Shaders ->Rigging->Animation->Lighting->Rendering->Compositing->Final Output And our AR 3D pipeline is: Modelling->Textures->Rigging->Animation->Output to Metaio->Shaders & Lighting->Final Display Most of the initial process is largely the same, although in our case we needed to simplify the rigs we usually use to drive the characters as not everything survived the conversion from Maya into Metaio on our first go.
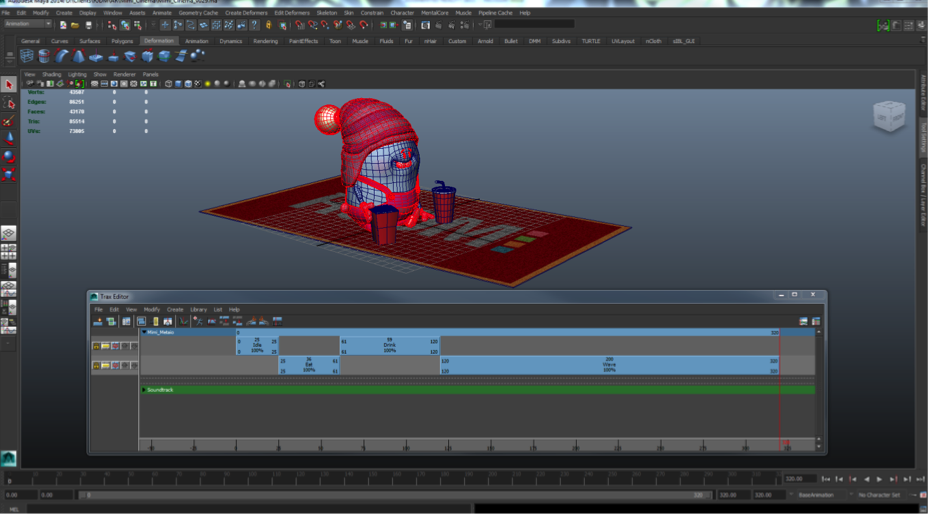
Once this was done the modelling, texturing and animation steps were very similar to our usual pipeline. To get the animation out of Maya and into Metaio we used Autodesks .FBX file format and a script called FBX Multitake, which allows us to setup named animation clips in Maya’s Trax editor which can then be called by name inside of Metaio to play the specified clip.
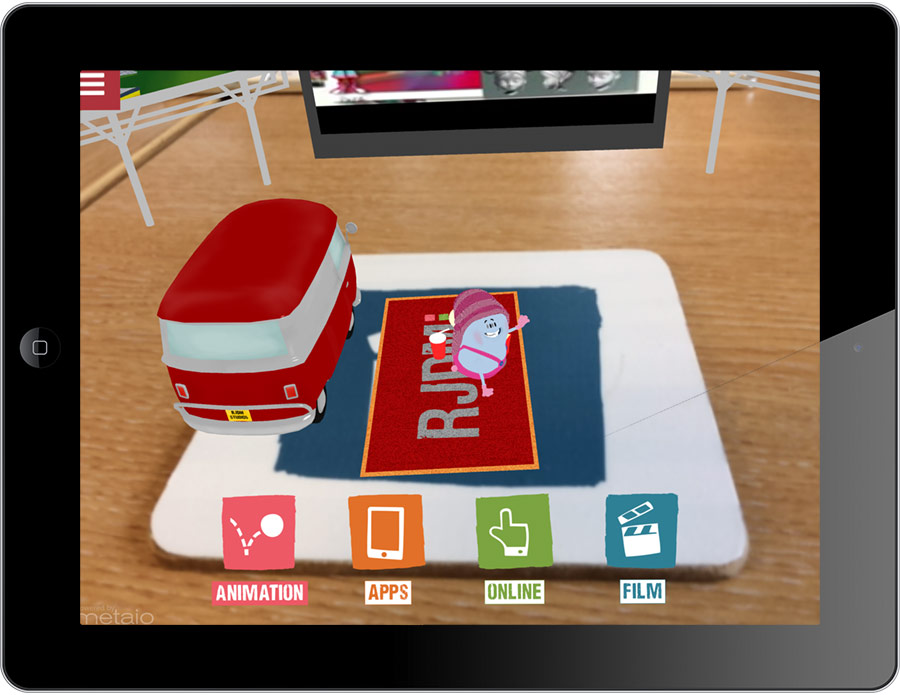
Once the models, animations and textures were ported across to Metaio, all that remained was to build a basic shader other than the standard lambert (flat colour) shader Metaio defaults to in order to support lighting effects such as specularity. Metaio’s render engine is built on the OpenGL GLSL shader language, which is open source and as such has many examples and basic tutorials available online. I won’t go any further into the shaders here as it’s a very in-depth (and largely dull) subject – so I’ll skip to the end result, which is we could make our camper van and car shiny!
Mimi's Camper van:
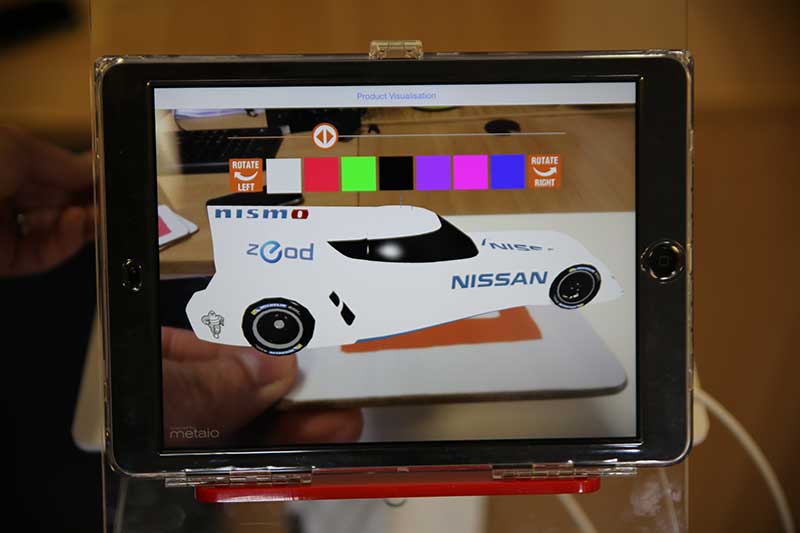
Nissan ZEOD
To find out more about our Augmented Reality awesomeness check out our other blog posts or give us a call to find out how we can bring this fantastic technology to you!
 SHARE
SHARE SHARE
SHARE SHARE
SHARE +44 (0)1604 648 464
 info@rjdm.com
 @rjdmstudios